Monday 8 January 2018

Create Angular 5 application using .Net Core 2.0 Template in Visual Studio 2017

Untitled design
Angular 5 has been announced recently and we already have a template added in the Visual Studio 2017 with .Net Core 2.0
If you want to know more about Angular in .Net Core then my post may help you to get the basic which you can find here and if you want to see how can we deploy the Angular applications on Azure then have a look at my post here.
In this post, we will see how to add Angular 5 template in your Visual Studio and create an Angular 5 application using .Net Core 2.0 templates.
Prerequisite:
  • Visual studio 2017 community edition, download here
  • .Net Core 2.0 SDK from here (I have written a post to install SDK here)
  • Node.js Version 9 or above from here

Add Angular 5 template

Once you have all these installed, open your Visual Studio 2017 -> Create New Project -> Go to Online tab and search with Angular5:
ang1
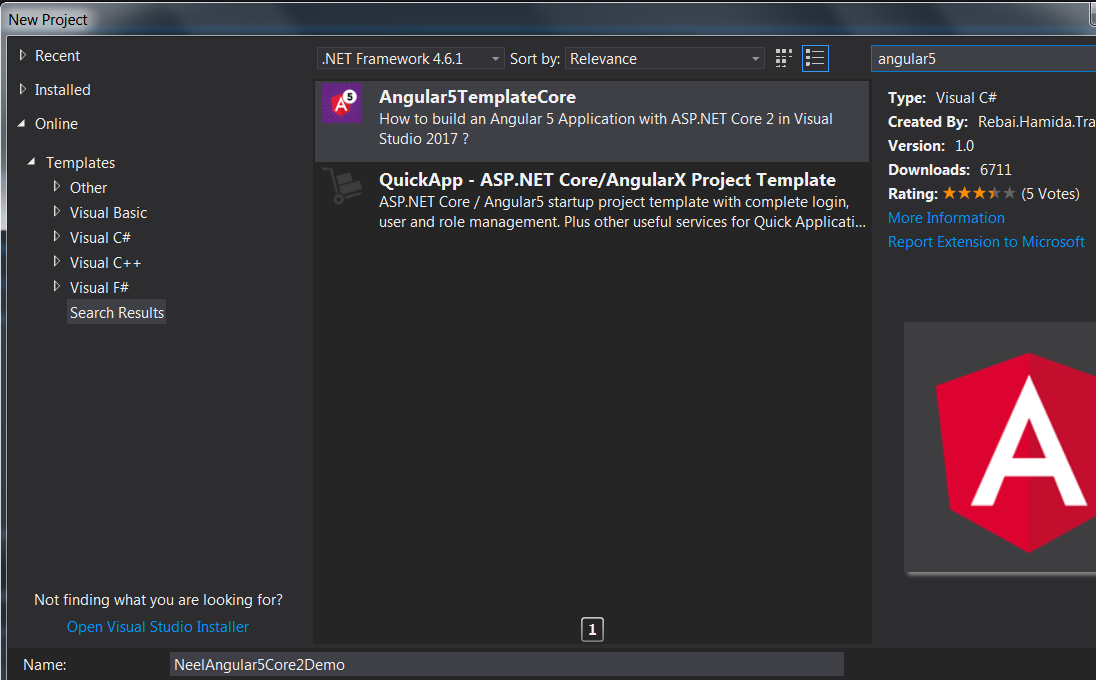
Select the Angular5TemplateCore and click on Ok.
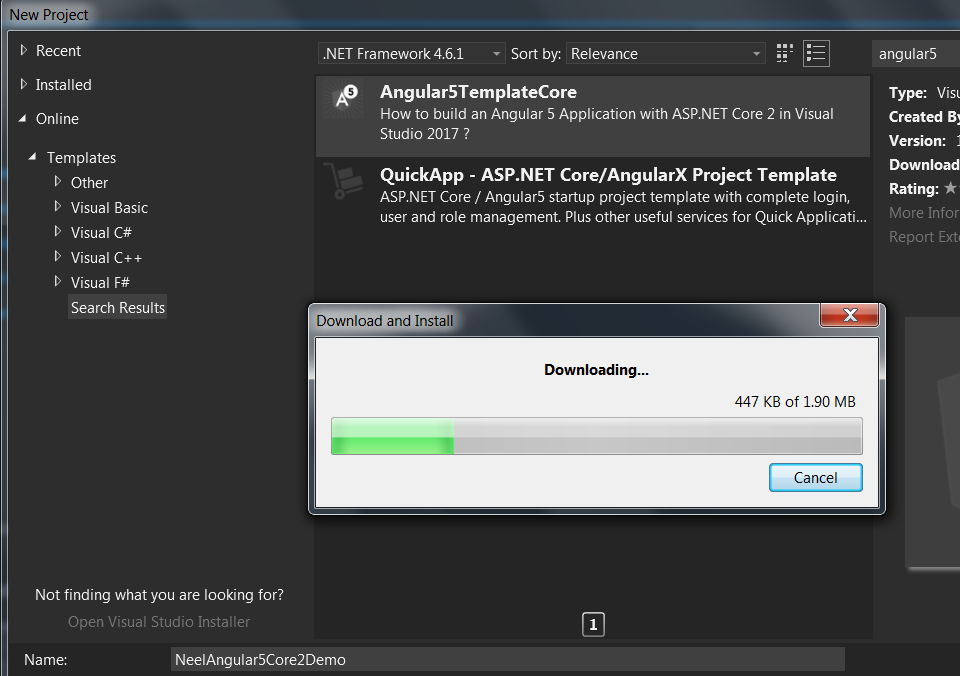
Downloading of the template will be started once you click on Ok:
ang2
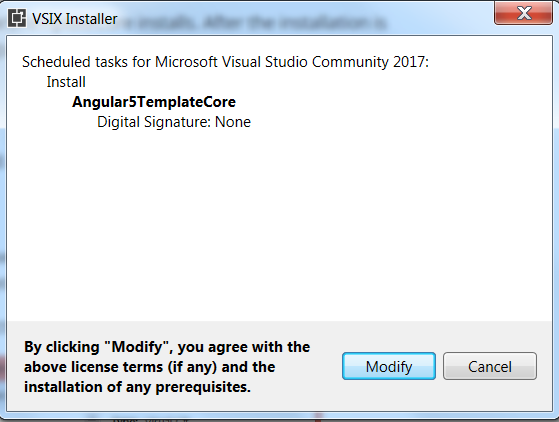
Once the download gets completed, an installer will be opened which will install the template in Visual Studio 2017.
Note - Close all running instances of the Visual Studio to have a smooth installation of the template.
The wizard will ask you to click on Modify:
ang3
Once you click on Modify, the installation will be completed:
ang4

Create Angular 5 application

Once you have the template installed, open your Visual Studio 2017 -> Create New Project -> Select Installed tab and search with Angular5, now we would be able to see Angular5TF template:
ang5
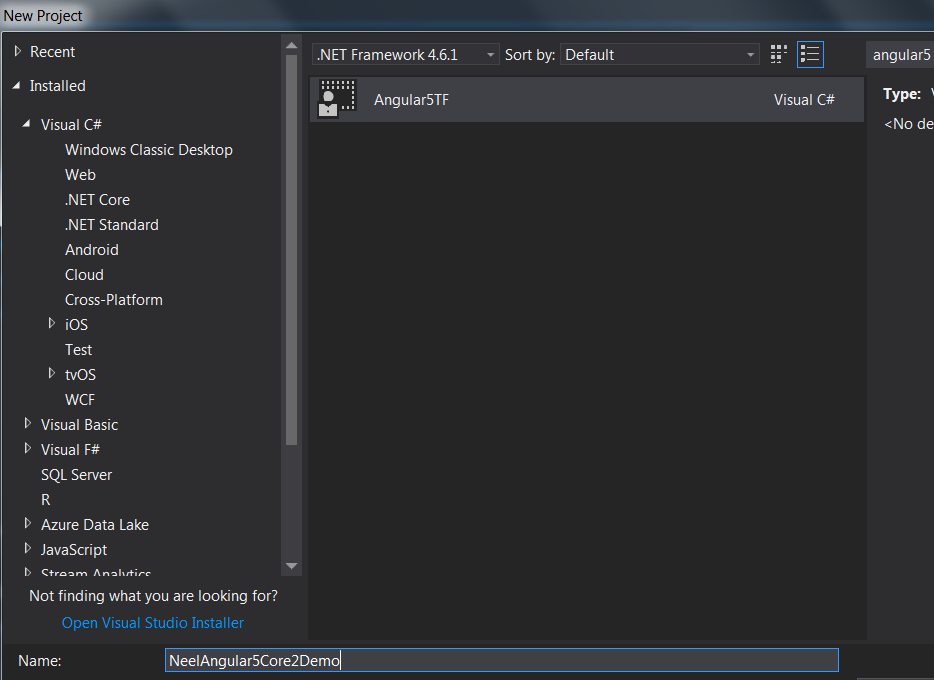
Click on OK, Visual Studio will create a well-structured Angular 5 application for you:
ang6
Now let us make sure that the application is Angular 5 application.
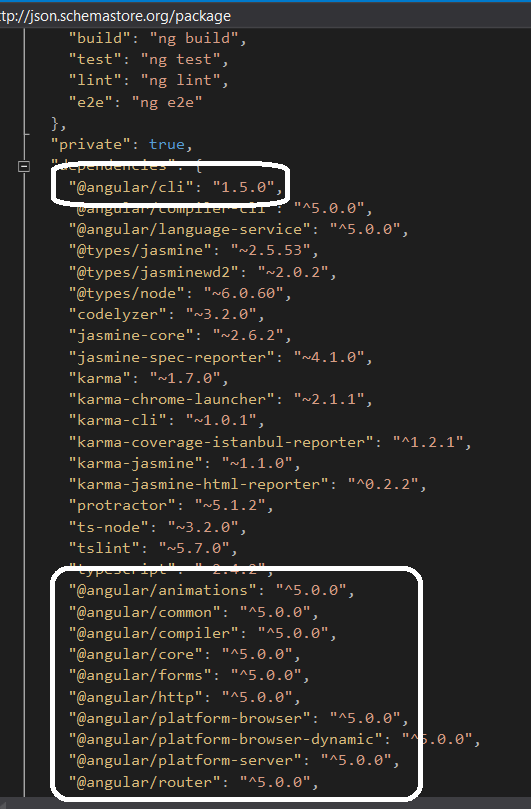
For that open package.json, here you will be able to see angular version 5.0.0 and Angular CLI version 1.5:
ang7
Next step is to install WebPack.
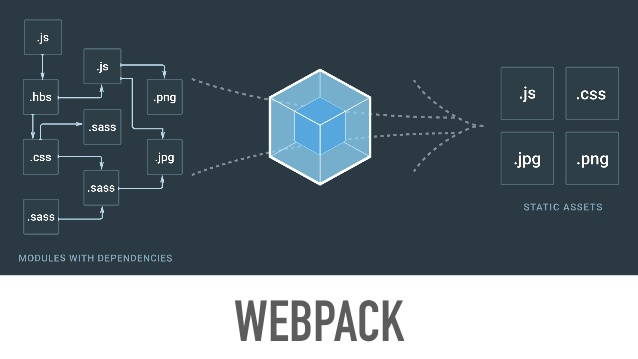
What is WebPack?

WebPack is a module bundler.
WebPack is used to determine the dependencies, run transformations and create bundles that you can provide to your browser.
ang8
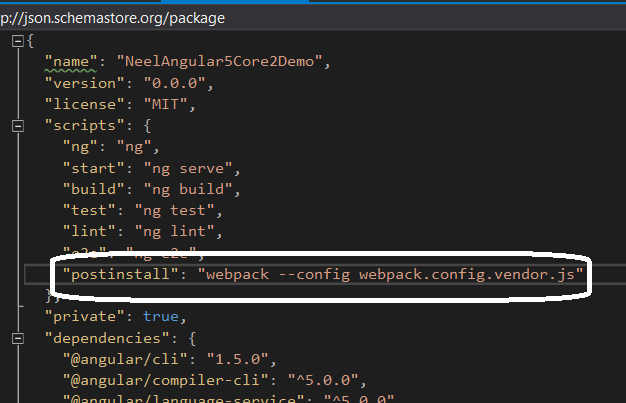
It is a good practice to add WebPack to the starting point that is why we will add below lines in package.json file if it is not there already:
"postinstall": "webpack --config webpack.config.vendor.js"
ang9
You may get below error if you have not added WebPack details in the package.json file:

Cannot find module './wwwroot/dist/vendor-manifest.json' 

To avoid this error, we need to run above WebPack command first. That is why we have added the command to the package.json file.
After adding above line, build the project. First time when you build the solution, it would take several minutes as it installs some dependencies.

Run the Angular application

Now click on IISExpress to run the application.
After 5-10 seconds, the application might have compilation error as below in Vendor.js file:
An exception has been encountered. This may be caused by an extension.
You can get more information by examining the file 'C:\Users\neel\AppData\Roaming\Microsoft\VisualStudio\15.0_b495e641\ActivityLog.xml'.
ang10
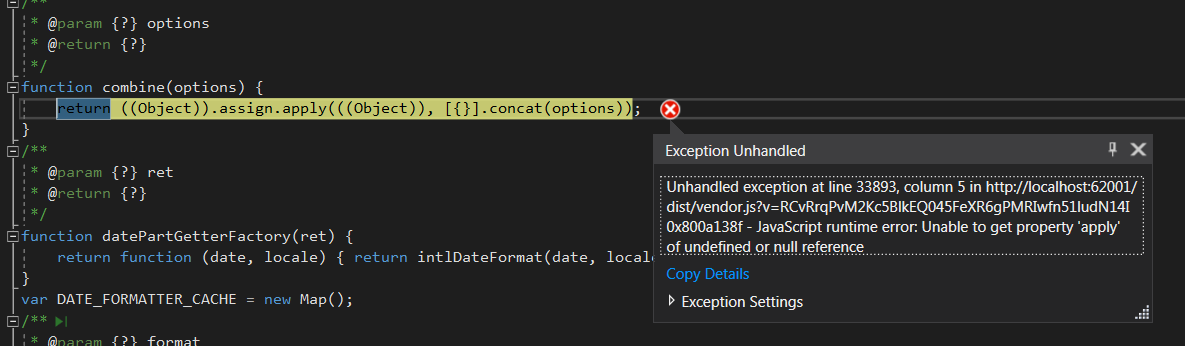
This error comes because IE does not support several functions used in the project. You need to import some libraries to resolve this error. Have a look here to resolve the error.
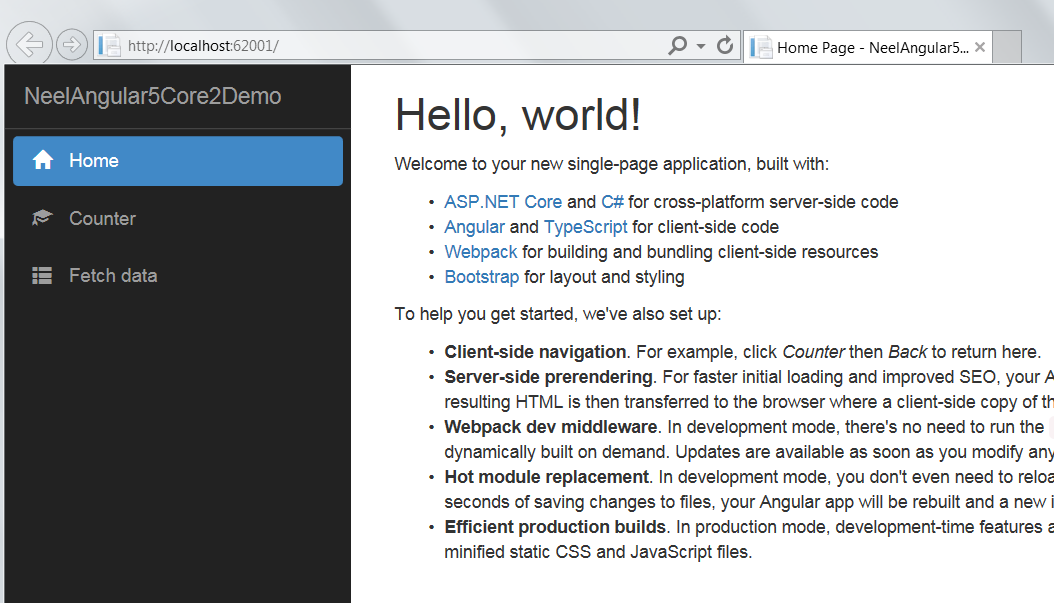
Once the error is resolved, the application will run properly:
ang11
Hope it helps.


Friday 1 January 2016

Hello World with MVC 6

In this post we will see how to write your first application using MVC 6 and Visual studio 2015.
We will go step by step.

First of all let us add simple MVC 6 project.

For that Open your Visual Studio 2015 and Create new project as shown below:
new-project-mvc6
and then select empty Asp.Net 5 preview.
new-project-select-empty-aspnet5-template

You can see the project structure like this:

aspnet5_beginning_demo_2

What is new in folder structure?
  • src folder – contains all projects that contain source code that make up your application.
  • global.json – this is where you put solution-level settings, and allows you to do project-to-project references.
  • wwwroot – is a folder in which all your static files will be placed. These are the assets that you web app will serve directly to the clients including HTML, CSS, Image and JavaScript files.
  • project.json – contains project settings
  • startup.cs – this is where you put your startup and configuration code.

But wait! Is it MVC?

No it is not.

Our next step is to configure the site to use MVC. This requires changes to the project.json file and Startup.cs file. First, open project.json and add “Microsoft.AspNet.Mvc” to the “dependencies” property:

So our project.json would be like this:
{
  "dependencies": {
       "Microsoft.AspNet.Mvc": "6.0.0-*",
       "Nowin.vNext": "1.0.0-*",
       "Kestrel": "1.0.0-*"
    },
  "commands": {
        "web": "Microsoft.AspNet.Hosting --server Nowin.vNext",
        "web-kestrel": "Microsoft.AspNet.Hosting --server Kestrel"
    }
}

Ok, so now it is Mvc project right?

Wait, we forgot to add configurations.

For that open Startup.cs and modify it as follows:

using System;
using Microsoft.AspNet.Mvc;
using Microsoft.AspNet.Builder;
using Microsoft.Framework.DependencyInjection;

public class Startup
{
    public void Configure(IApplicationBuilder app)
    {
        app.UseServices(services =>
        {
             services.AddMvc();
        });

        app.Use(async (context, next) => 
        {
             Console.WriteLine(context.Request.Path);

             try
             {
                  await next();
             }
             catch(Exception ex)
             {
                   Console.WriteLine(ex);
             }
         });

       app.UseMvc();
      }
}

This code enables MVC and defines a route.

Voila! Yes now it is an Mvc Project.

Now let us add controlls and views.

Oh! Well we need to follow some steps to add controlers and views because we need to add simple class and make it a controller as below:
  • Add a Controllers folder
  • Add an MVC Controller called HomeController.cs class to the Controllers folder
  • Add a Views folder
  • Add Home folder in the Views folder
  • Add an Index.cshtml MVC View Page to the Views/Home folder.
The project structure should be as shown:
project-structure-controller-view

Now, Edit Index.cshtml as below:

<h1>Hello from Razor!!<h1>

And in HomeController:

public class HomeController : Controller
{
    public ActionResult Index()
    {
        return View();
    }
}

Run the application – you should see Hello World output in your browser.

hello-world

Congratulations for your first MVC 6 project!


Stay tuned for more!

Wednesday 30 December 2015

WebHooks in Asp.Net : A Visual Studio Extension

Before couple of weeks Asp.Net team has announced to support Web Hooks with Visual Studio.
First of all let us see What is WebHooks?

WebHooks in web development is a method of augmenting or altering the behavior of a web page, or web application, with custom callbacks. These callbacks may be maintained, modified, and managed by third-party users and developers who may not necessarily be affiliated with the originating website or application.
In simple words WebHooks is a HTTP callback(user-defined HTTP Callback) which providing a simple pub/sub model for wiring together Web APIs and SaaS services.
Ok, above explanation is a kind of theoretical, can you tell some real time example?
Suppose you have a company account in Instagram! Now a new photo is tagged with tags of your choosing and you want to do some instant event like saying “Thank you!” or to answer if someone has asked anything or deletion of comments in case of some spamming!
WebHooks does it for you!
That is awesome! How to get WebHooks in Asp .Net?
You can install the extension directly in Visual Studio using the Tools -> “Extensions and Updates” dialog, as shown below. Simply search for “WebHooks” and you will see below screen:
image
After getting this Visual Studio extension you will see some wizard as shown below:
image
The above wizard is used to select which client you want to use.
image
Above wizard is used to enter secret number of client. It captures the secrets for each of them individually.
Now Let us go step by step with the example of Instagram I explained above. Let us code it out!!
We will take Instagram sample in which we will connect WebHooks to get the notification generated in Instagram account.
Instagram WebHooks support four kinds of subscriptions:
  • Users: receive notifications when users registered with your application post new photos.
  • Tags: receive notifications when a new photo is tagged with specific tags.
  • Locations: receive notifications when new photos are posted and tagged with a specific location.
  • Geographies: receive notifications when new photos are posted in a given geo location defined by a center point and radius.
First of all get secret number for your Instagram account as shown below:
2474.InstagramCreateClient_08DD1A9E
which will be stored in your web.config file as below:
<appSettings>
   <add key="MS_WebHookReceiverSecret_InstagramId" value="Instagram Client ID" /> 
   <add key="MS_WebHookReceiverSecret_Instagram" value="Instagram Client Secret" />
</appSettings>
After installation you will see a WebHookConfig.cs class in your App_Code folder which would be created automatically. It is used to initialize the process as shown below:
namespace WebHookReceivers
{
   public static class WebHookConfig
   {
      public static void Register(HttpConfiguration config)
      { 
           // Load receivers
           config.InitializeReceiveInstagramWebHooks();
      }
   }
}
Once you select the receiver as shown in figure, a class is added to the project that inherits from the WebHookHandler class, the base class for all WebHook handler customization you intend on doing.
Each receiver is identified by name, with the name being used in the route wire-up, so each generated handler checks to see if it’s the one who should be handling the incoming requests.
Instagram generated handler is below:
public class InstagramWebHookHandler : WebHookHandler
{
   public override Task ExecuteAsync(string receiver, WebHookHandlerContext context)
   {
      string action = context.Actions.First();
      JObject data = context.GetDataOrDefault<JObject>();

      return Task.FromResult(true);
   }
}

Now let us make some changes in above code as below:
public class InstagramWebHookHandler : WebHookHandler
{
   public InstagramWebHookHandler()
   {
       this.Receiver = "instagram";
   }
 
   public override async Task ExecuteAsync(string generator, WebHookHandlerContext context)
   {
       // Get the WebHook client
       InstagramWebHookClient client = Dependencies.Client;
 
       // Convert the incoming data to a collection of InstagramNotifications
      var instagramNotifications = context.GetDataOrDefault<IEnumerable<InstagramNotification>>();
      foreach (var notification in instagramNotifications)
      {          
          var entries = await client.GetRecentGeoMedia(context.Id, notification.ObjectId);
          foreach (JToken entry in entries)
          {
              // Different sizes of images
              var thumbnail = entry["images"]["thumbnail"].ToObject<InstagramMedia>(); 
          }
      }
   }
}
In the case above we extract information about different image resolutions (i.e. thumbnail here). However, the information provide by Instagram is huge and we can extract much other information.
Here we have used InstagramWebHookClient to retrieve additional data and then extract information about the images posted.
In above code it gets the notification generated in Instagram for you and you can do different code as per your requirement.
I will update if something would be updated by .Net team.
In my next post I will write demo code for Github handler of WebHooks.(Post is available now)
Stay tuned for more updates.